Students can attend their classes via video conferencing through tools such as Skype. Corporate folks can meet their peers and bosses via Skype. You can even meet your friends and family via video chat through Skype. Now, what if Skype goes unresponsive and eventually crashes out? it’s a very undesirable situation which you do not want to face while a meeting is going on or your classes are going live. The camera drivers of your computer webcam may be outdated. If not updated they may glitch when you put them to use. Otherwise, the graphics driver of the computer may have some issues with it. It may be a bug on the Windows 11 OS that is leading to the Skype Not Working issue.
Best Ways to Fix Skype Not Working on Windows 11
The troubleshooting process begins now. I have listed various troubleshooting techniques to Fix Skype is Crashing or Not Working on Windows 11.
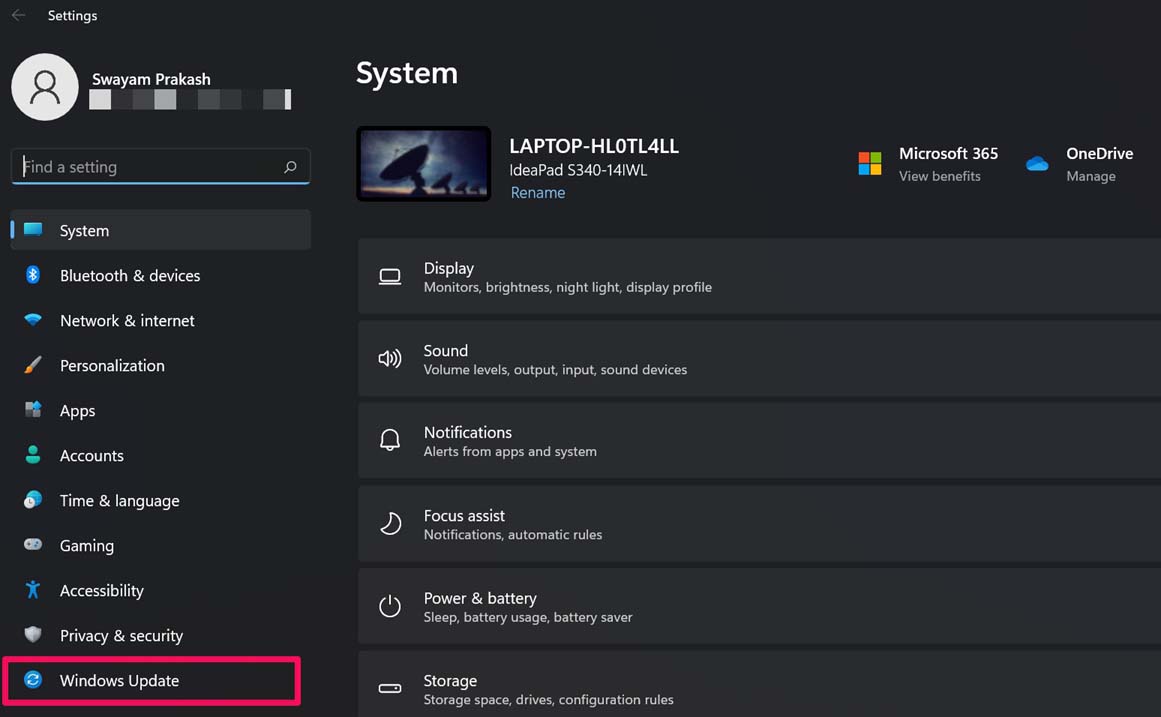
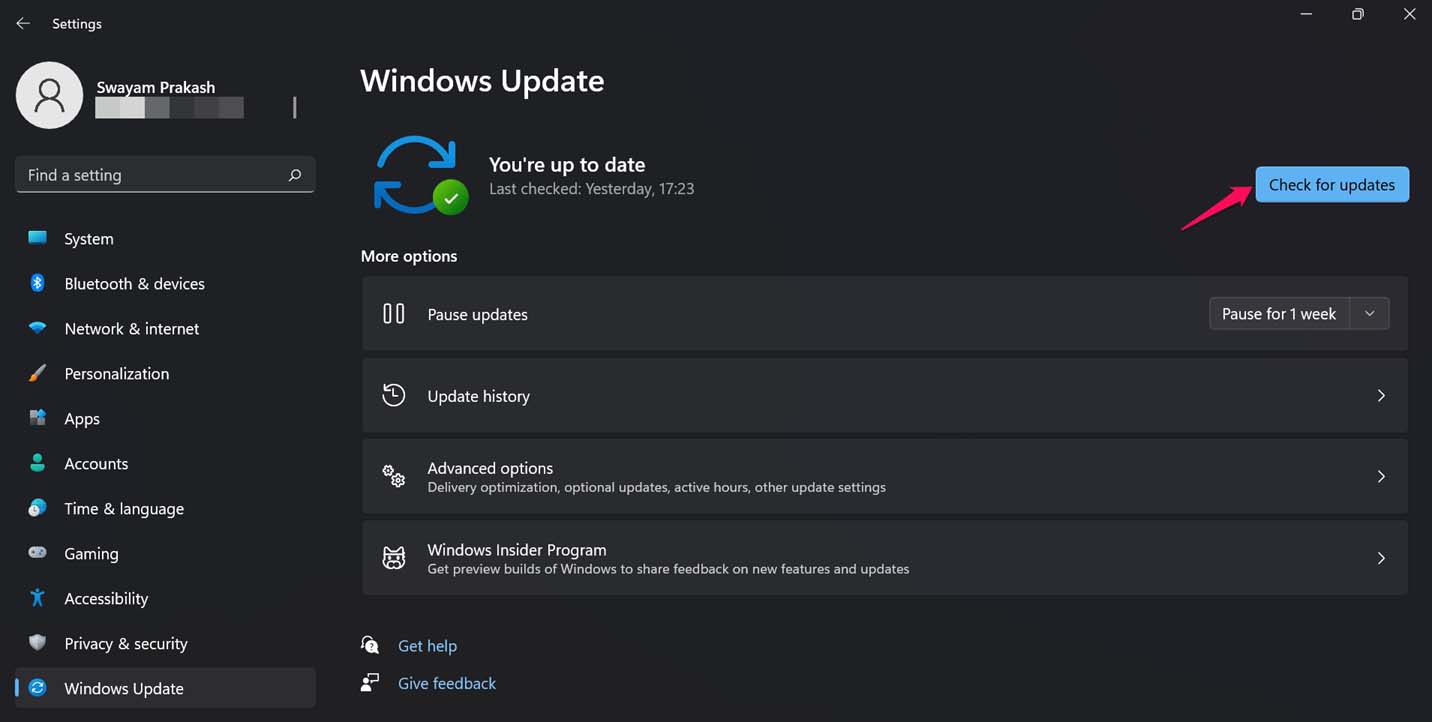
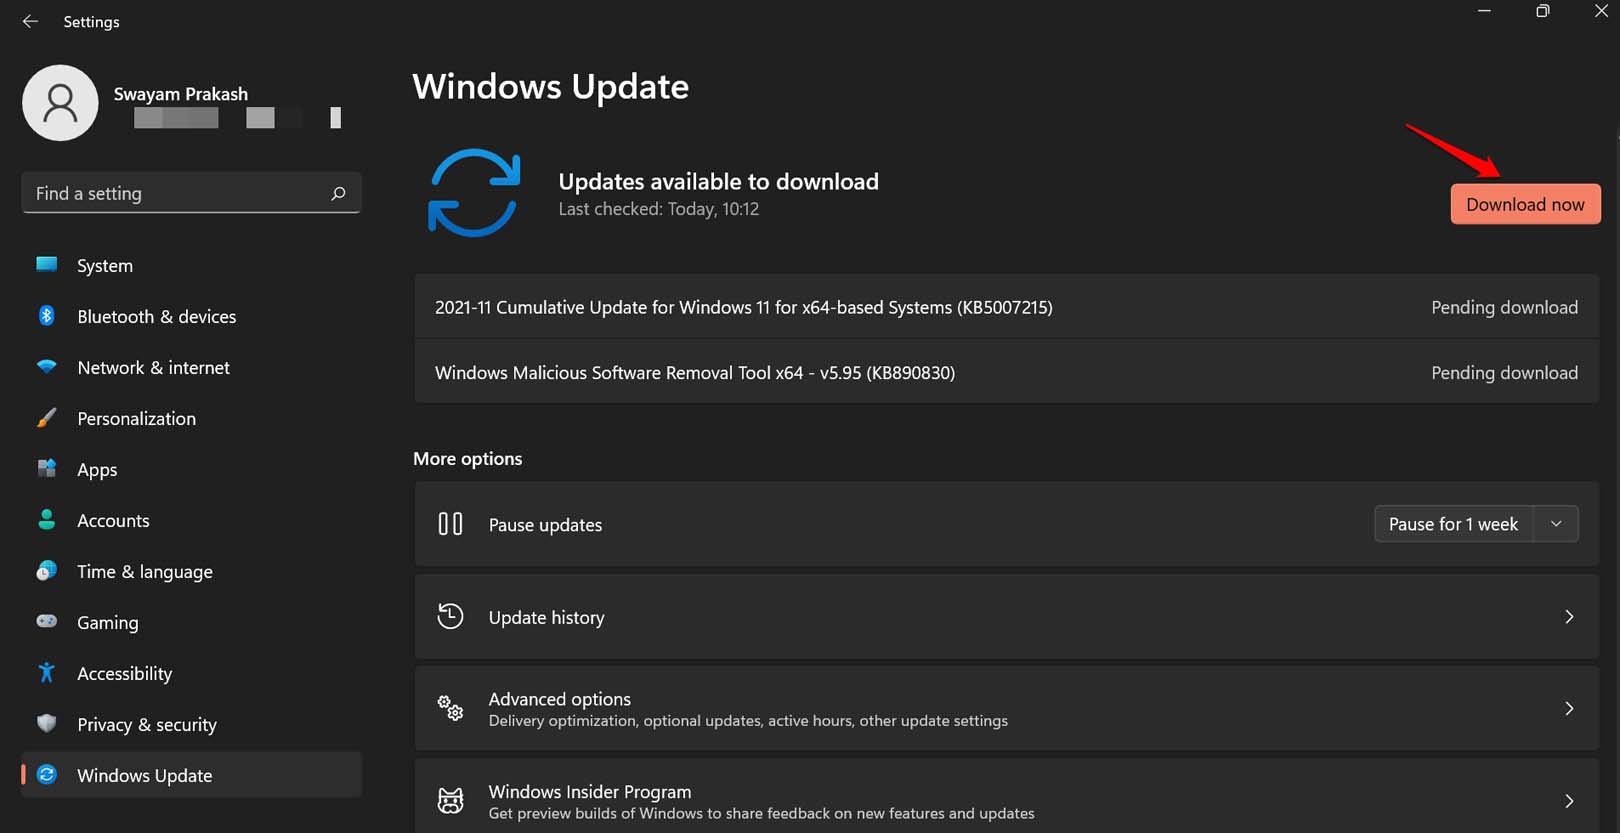
1. Update Windows 11 OS
Start the troubleshooting by upgrading the version of the Windows OS installed on your PC. If you are a member of the early access program of Windows OS then it may be a bug on the OS. If the issue is in the OS, for sure the apps will get affected. Even stable Windows 11 is not free of technical issues. So, installing the latest build of Windows 11 should fix the problem.
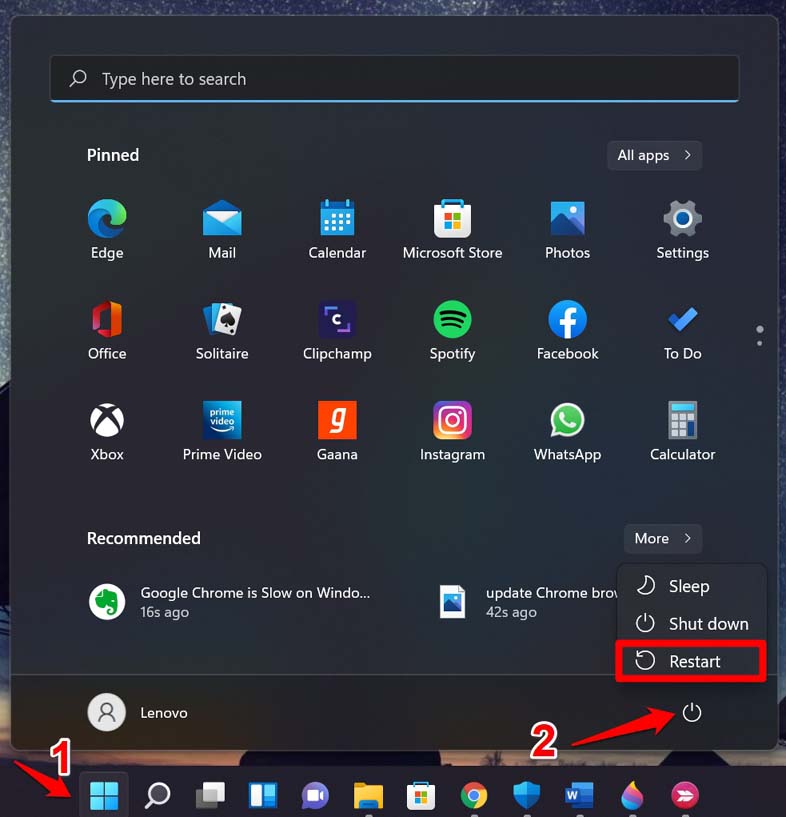
2. Restart the Computer
You may consider restarting the computer. If the Skype video call app is crashing due to some random issues, then it may have happened due to incorrect bootup or a system crash. Usually, a restart fixes the snags.
3. Close and Relaunch Skype
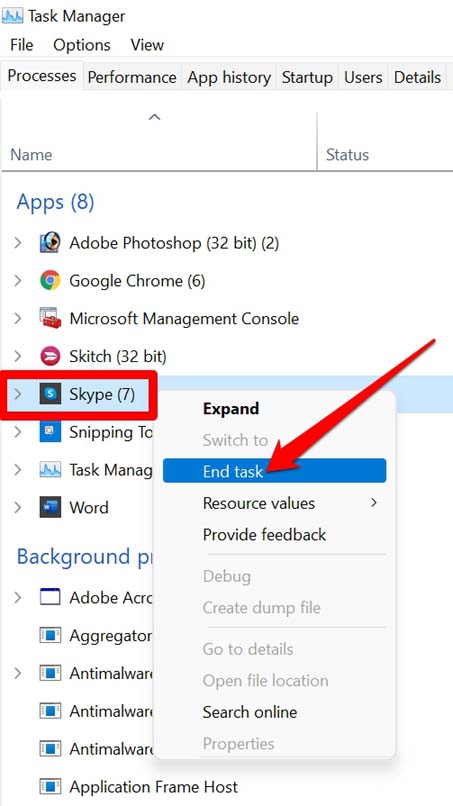
If upon repeated attempts Skype is crashing, then invoke the Task Manager and close the process of Skype.
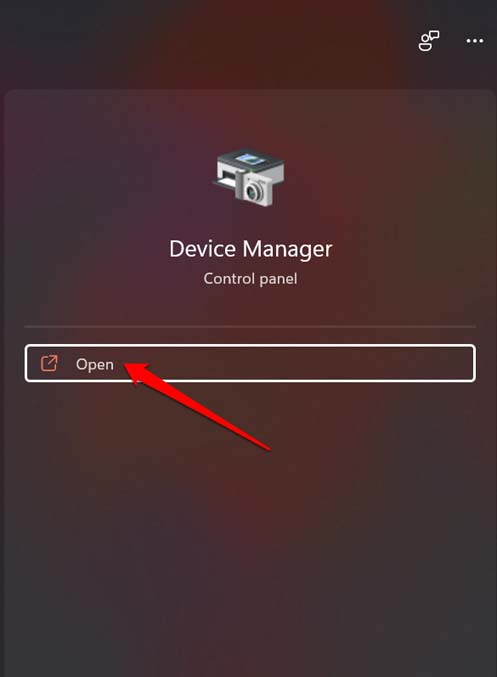
4. Update Web Camera Driver of Windows PC
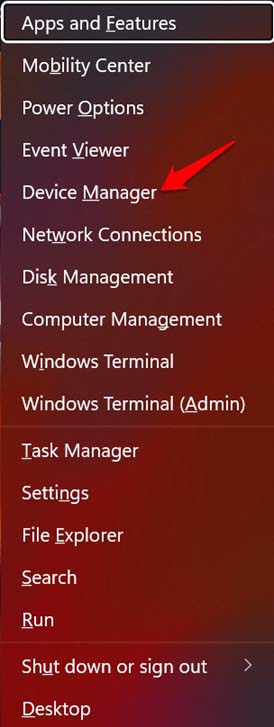
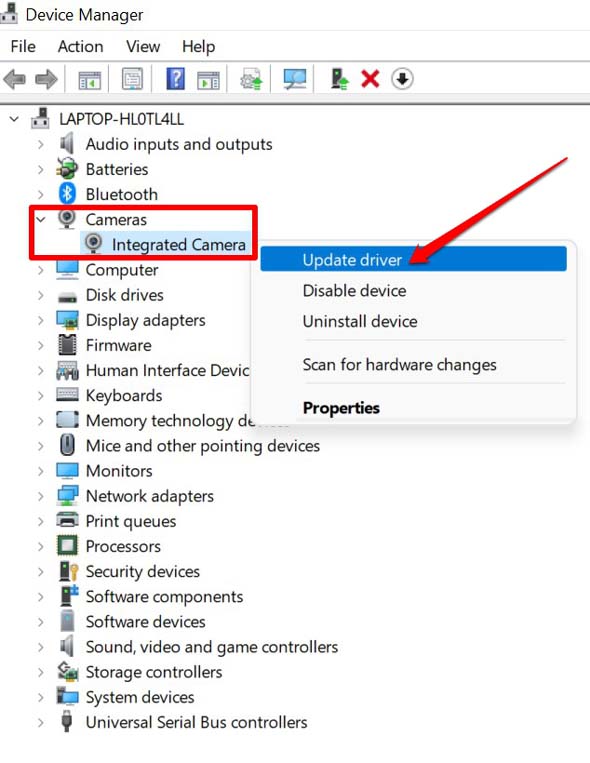
You must ensure that the web camera installed on your PC is using the latest driver by updating the driver manually.
5. Use Web Version of Skype
Skype normally has two versions. One is the app version which you can grab from the Microsoft Store. Another version of Skype is the web version. If the app installed on your computer is not working, then use the browser on your PC and access the Skype website. Log in using the same credentials you have. You should be able to use the video conferencing app without any hassle. Secondly, if you already prefer to use the Skype desktop version and the same is going unresponsive or crashing, then switch to the app version of Skype. If both ways Skype is not working, maybe you can uninstall and reinstall Skype on your computer. The steps for the same have been explained ahead.
6. Uninstall and Reinstall Skype on your PC
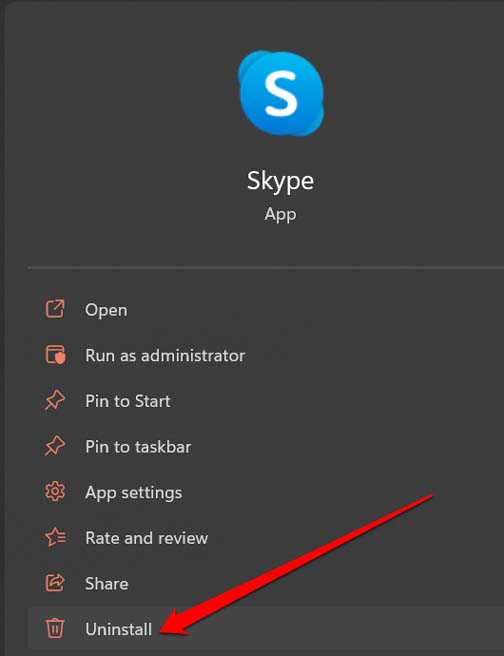
Uninstalling and reinstalling should fix the app-specific bugs that may be causing Skype to crash. The process of uninstalling is quite easy. Also, when you reinstall Skype, the most recent version of the application will be installed.
Installing Skype on Windows 11
If you do not entirely want to perform a uninstall and reinstall, you can simply search in the Microsoft Store and check if any update is available for Skype. You can install the same and relaunch Skype.
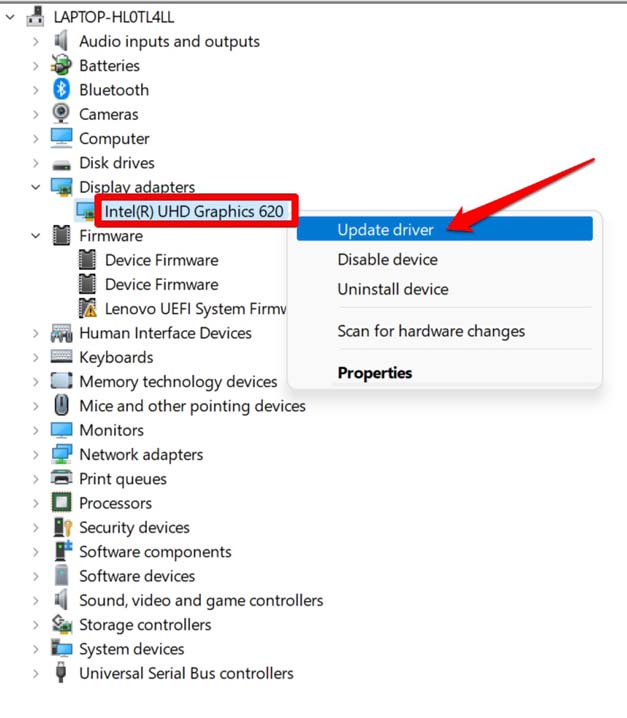
7. Upgrade the Graphics Driver on your Computer
Lastly, you should manually update the driver of the GPU installed on the computer. It is not advisable to use outdated drivers. To fix the issue of Skype Not Working on Windows 11 computer, try these troubleshooting tips and I’m sure you will be soon able to seamlessly enjoy your video conferencing sessions. If you’ve any thoughts on Skype is Crashing on Windows 11: How to Fix, then feel free to drop in below comment box. Also, please subscribe to our DigitBin YouTube channel for videos tutorials. Cheers!
